How to Plan a Menu for a Long Distance Backpacking Trip
For many of us, menu planning for a backpacking trip is a last minute consideration. Stop off at a grocery on the way up to the mountains and grab the essentials: mac and cheese, ramen, oatmeal, and, of course, bars, bars, and more bars. But the longer your hike (around the third day of a backpacking trip is usually when it becomes tough to eat another energy bar), the more important it is to vary your diet, both to maintain a high interest in your food and to keep your energy levels up and active. If you’re planning your first long hike, whether it’s for six days or 60, you’ll want to spend some time considering what to eat, how much, and when.
What to Pack

Before we get into what to pack, let’s start with how much to pack. Eyeballing it might work fine for an overnighter, but the longer your trip is the easier it is to get wrong. Pack too much food and you’ll end up needlessly hauling around extra weight. Pack too little food and you’ll spend the end of your trip uncomfortably rationing. Counting calories before a backcountry trip can help make the trip itself more enjoyable. But how many calories should you plan for?
Start by considering what your baseline metabolism is. In the frontcountry, I eat an average of 2000 calories a day. For a low-key backpacking trip (averaging 8 miles or less a day) I’ll typically pack 2500 calories per day. For higher-mileage days, I’ll bump up the calories to 3,000 a day. Other variables, such as hiking in snow or backpacking at elevation will also result in a calorie-bump increase. If you’re planning a trip for a month or longer, plan to add more calories after the first couple of weeks, regardless of any change in mileage. This will help account for the loss of fat stores in your body.
Breakfast

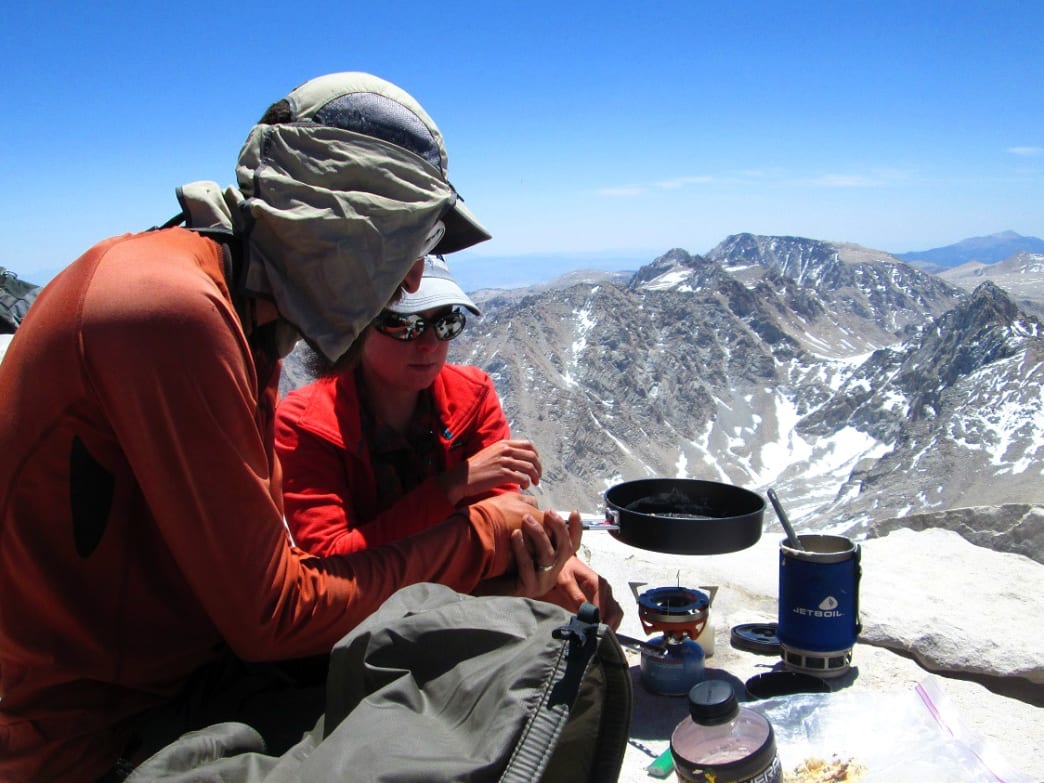
Don’t let your backcountry breakfast be an afterthought. If you’re hiking long miles, you’ll typically be up by dawn, packing up your gear, ready to get a jump on the day. You’ll want breakfast to be fast, nutritious, and, depending on the season, hot. This is what my husband and I typically pack when we are out on a long trip:
-
Instant espresso (such as Cafe Bustelo)
-
Instant milk (to mix into the coffee)
-
Instant oatmeal with brown sugar, freeze dried fruit, and instant milk
-
Instant grits with powdered cheddar cheese and instant milk
-
Pastries, cinnamon rolls
-
Protein or breakfast shake
Before you leave for your trip, repackage your breakfasts into individual servings. A chilly morning when you’re trying to break down camp is not when you want to be fussing with pouring three quarters of a cup of oatmeal and two tablespoons of brown sugar into your ultralight titanium mug.
Also, before you hike out for the day, consider your next meal. If you’re hiking big days, it may only take an hour or so for your appetite to work up, especially for those of us that don’t like to eat big meals when we first wake up. A protein or breakfast shake during the first mile or two of your hike can help keep your energy up until that next break, while a pastry is the perfect calorie-dense food to have on hand in case you feel your blood sugar levels plummeting.
Lunch/Snacks

The longer you spend in the backcountry, the more your idea of “lunch” will change. The norms of the frontcountry no longer apply, so you’re not obligated to stop for a one hour lunch break between noon and 1 p.m., especially if you’re still a couple of miles away from that perfect vista. But at the same time, when you are hungry, it’s best to stop and eat something then, so that you can keep your energy high for the long haul. I now like to think of “lunch” as everything that I’ll eat between 8 a.m. and 4 p.m.
While it’s great to get some healthy foods into your backpacking snacks, this shouldn’t be your sole focus. It’s just as important to seek out food that is calorie-rich and lightweight. That’s right. I’m talking about the bane of frontcountry diets: junk food.
The longer your backcountry trip, the deeper down the rabbit hole of junk food you should go. As you hike longer and longer days, you will start to reduce your body’s fat stores and your metabolism will start to change into a fat-burning machine. This means that you can get away with eating all sorts of things on a long backpacking trip that it's better to avoid in normal life.
So when you’re at the store, look past the typical granola or energy bars that so many hikers bring along. This may sound self-evident, but food that feels like a chore in the frontcountry isn’t going to taste any better when you’re hiking. And if you pack something that you’re not excited about eating, the odds are that you simply won’t eat it, missing out on valuable calories and adding unnecessary weight to your pack. Below is a short list of snack and lunch foods that I’ll pack for my husband and myself when we’re out on a long trip:
-
Peanut butter
-
Dried sausage
-
Wheat crackers or pita chips
-
Chips (Fritos, Tim’s Cascades, Terra, etc.)
-
Candy (Snickers, Almond Joy, Paydays, Peanut M&Ms, etc.)
-
Dried fruit, such as coconut, mango, and apples
-
Wasabi peas
-
Flavored almonds
-
Avocado
-
Cookies
-
Caffeinated crystal light
-
Chocolate covered espresso beans
Dinner

Dinner, like lunch, doesn’t have to follow the norms of the frontcountry and, in fact, is much more efficient when it doesn’t. On long trips, many hikers will end up eating dinner as early as 3 p.m. to provide extra energy through the rest of the afternoon and to avoid the dangers associated with eating their dinner at their campsite. But the purpose of dinner in a backcountry menu remains the same: a nutritious meal that will not only help your body operate on all cylinders, but also serve as a source of motivation when you’re pushing through a particularly difficult section of trail or during inclement weather.
If you’re pressed for time, the easiest way to prep your dinners is to purchase prepackaged foods. Many hikers enjoy pre-packaged dinners by Mountain House, Backpacker’s Pantry, and the like. You can also find a number of backcountry-ready meals at the grocery store, such as Kraft Mac and Cheese, Idahoan Potatoes, Lipton Pastas, and the Near East selection of couscous and other grains. If you choose to go this route, I recommend taking the time to package some extra olive oil, tuna in foil packets, and your favorite spices. This will give you the ability to either flavor these pre-packaged foods to your own tastes or add in extra calories as needed.
If you have more time at your disposal, I strongly recommend putting together your own backpacking meals. Here are a number of resources available where you can learn more about what this involves:
A note on packaging food for longer hikes: For a six-day backpacking trip, I’ll pop any homemade backpacking meals with potentially perishable ingredients in the freezer in the days or weeks leading up to the hike. But if you’re going out for any longer than that, consider investing either in a vacuum sealer or oxygen absorbent packets.
Packing Your Food

Is there anything more irritating than stopping for your first snack break of the day, only to discover that your food bag is stuffed at the bottom of your pack? Or to find an unmarked Ziploc bag and not know if you’re looking at powdered milk or powdered potatoes? Taking a few moments before your trip to consider how packing your food can save you from headaches and hassle during your trip.
The first, and most obvious piece of advice is to label everything—especially if you are repackaging food items. Label what it is, how many calories it has, cooking prep instructions, and the date that you packaged it on.
Another strategy favored by some long-distance backpackers is to individually pack up the food for each day in a separate gallon Ziploc bag. That will prevent a situation where the only food in your food bag on the 5th day is cereal bars and jerky.
If you’re hiking in bear country, naturally you’ll want (and frequently be required) to take along a bear canister. But even if you aren’t in bear country, consider taking extra precaution to protect your food from raccoons and other small rodents. Combining an Ursack and an Opsack will significantly reduce the odds that a mouse will get into your food bag, while offering significant protection against bears for a fraction of the weight.
Sending Yourself a Resupply Box

Depending on your route and the length, you may want to consider sending yourself a resupply box. This is an excellent way to reduce the weight of your pack at the outset of a trip. Once you’ve identified a place on the trail where you can send a resupply box, spend some time researching what limitations might exist. Can you send the box USPS or only via UPS and FedEx? Is the resupply location closed on Sundays? Will they charge a cash fee to accept a resupply? If you’re basing your resupply information off of a guidebook or other online resource, call ahead to make sure that your resupply drop off point is still accepting resupply boxes.
Take care when packaging your resupply box. Like with anything else that goes through the mail, your box has the potential to be smashed, crushed, left out in the pouring rain, or stuffed into a hot and humid warehouse. Using a bucket instead of a box, or securing your food inside of a large Tupperware container, can help protect your resupply box against both the elements and the potential for rodents.
Written by Laura Lancaster for RootsRated and legally licensed through the Matcha publisher network. Please direct all licensing questions to legal@getmatcha.com.
