The challenges of hiking solo in remote Australia
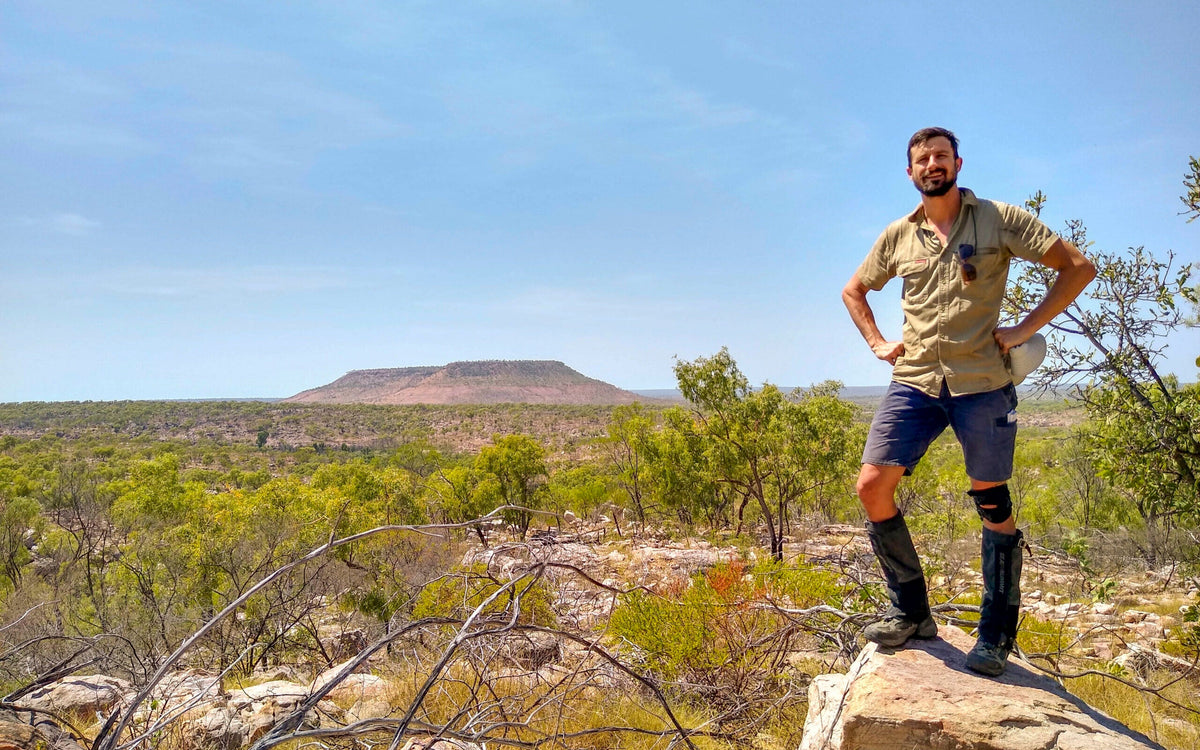

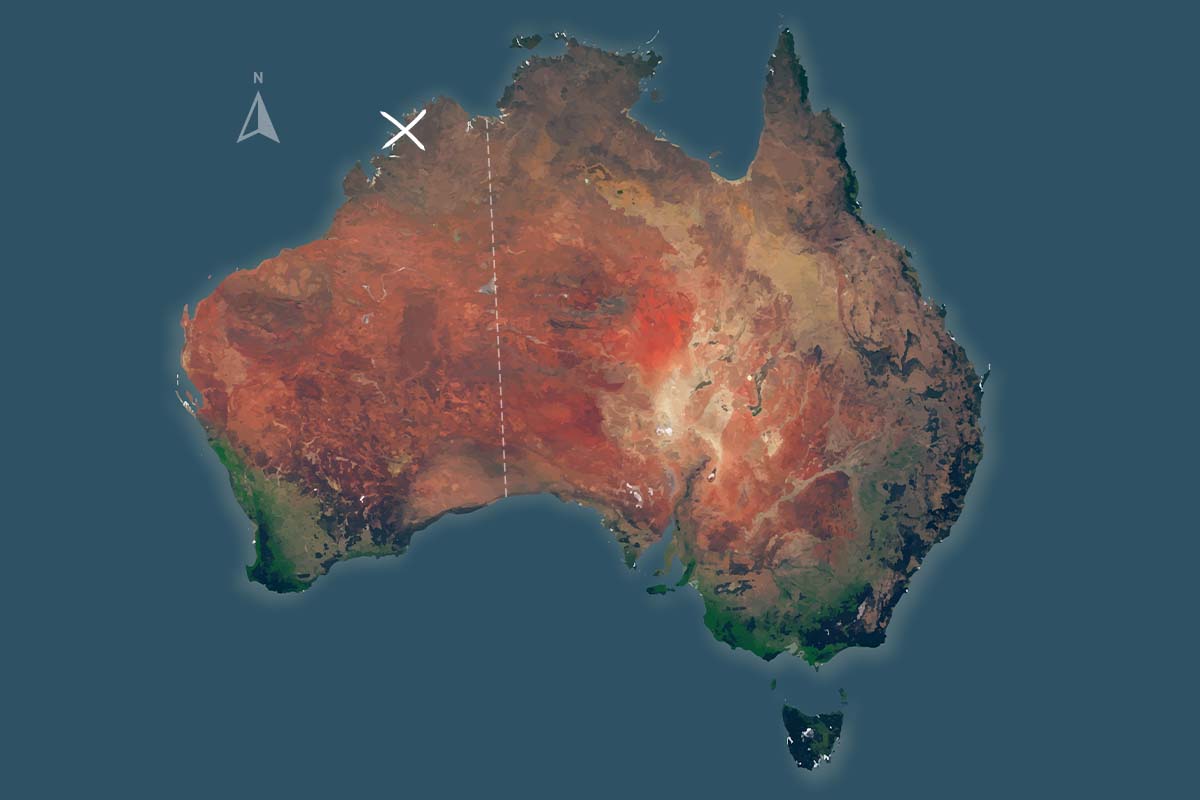
Last month I had the opportunity to set out on a solo hike in remote Australia, crossing a section of the East Kimberley, which is in the far northern corner of Western Australia. The same factors that make the Kimberley so stunning—aggressive geology, extreme weather, diverse and sometimes dangerous flora and fauna—also make it challenging.
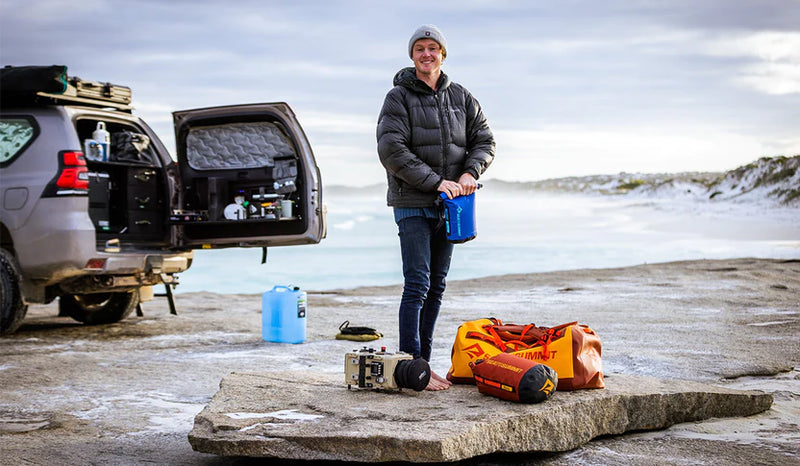
I’ve been a Product Designer for Sea to Summit for over 10 years and have worked on much of the gear you may be familiar with, like the X-Series camp kitchen gear, Aeros Pillows, Duffle Bags and Hammocks.
I love getting out there, exploring the wild and challenging myself. It’s a big part of who I am and it inspires my work at Sea to Summit. My own adventures inform my design, having firsthand experience in what gear users need.
As many adventurers know, choosing the right gear sets the foundation for a safe, flexible and happy adventure—it also helps mitigate risk and overcome challenges. But it isn’t always easy. I’ve planned hundreds of trips and I’m still chasing the perfect packing list.
That’s why I’ve compiled the gear that I used on this trip, as well as some reflections on what I might do differently on future trips like this. I hope other adventurers find it useful.
Safety first
The outdoors is a risky place, and going it alone greatly increases those risks. On the trail, any number of minor events like a stomach bug or sprained ankle can become life-threatening when you are alone and can’t give yourself the necessary first aid.
Solo adventures can be great for switching off and disconnecting, learning what you can achieve on your own and pushing through your comfort zone, yet they can also be very lonely. I find the toughest time is the still, quiet moment after you’ve set up camp—you are proud of that day’s achievements and surrounded by natural beauty with no one to share it with. Talking, planning and experiencing things with other people is super fun. Nine times out of 10 I’ll invite a like-minded companion on a trip, but even with the cons of increased risk and loneliness I’ve mentioned, if I can’t find that person, it won’t stop me from heading out.

Ways I reduce exposure to risk on my solo adventures:
- Experience: understanding my limitations, refining my gear list and having routines is a great way to stay happy and healthy in the bush. A hiker with a positive attitude and high energy levels is much more resilient to unexpected challenges on the trail.
- Move slowly: on rocky or overgrown terrain, place each step with due consideration and purpose. On open terrain I try not to overwork myself and cause an injury. I try to take time to stop and think through my decisions and run through every possibility before committing down a path.
- First aid: snake bite was my greatest medical concern on this trip and, as a solo hiker, I always kept an extra-long compression bandage on my hip belt. In the event of a snake bite, I would look for somewhere shady and relatively comfortable to lie down, apply the bandage to the affected limb and activate my emergency beacon. You can read more on outback survival tips in this blog.
- Emergency telecommunication: for better or worse, we live in an age where a small, relatively inexpensive, hand-held device can be used to request the assistance of emergency services.
There are three levels of emergency telecommunication I use for super-remote trips like this one.

The most basic option is a Personal Locator Beacon (PLB) which will send your location to emergency services when activated. They don’t provide two-way communication so you can’t be sure help is on the way until it arrives.
Satellite messengers act as an SOS beacon and two-way text communicator. You can activate the beacon and communicate with emergency services to provide details and be reassured that someone is actually coming for you.
Satellite phones allow fast, verbal exchange of information. Whether you’ve broken your leg or are confirming your pick-up location, it’s reassuring to hear a voice on the other end of the line. It’s always important to have backup plans for emergency gear, so I brought a satellite phone with pre-loaded talk time. The most likely accidents I could’ve been exposed to were snake bites and falls. If my satellite messenger failed, I could call emergency services or contact my pre-planned evacuation transport. I never did have a reason to use it, but it weighed so little, and it felt great knowing it was there.
Navigation
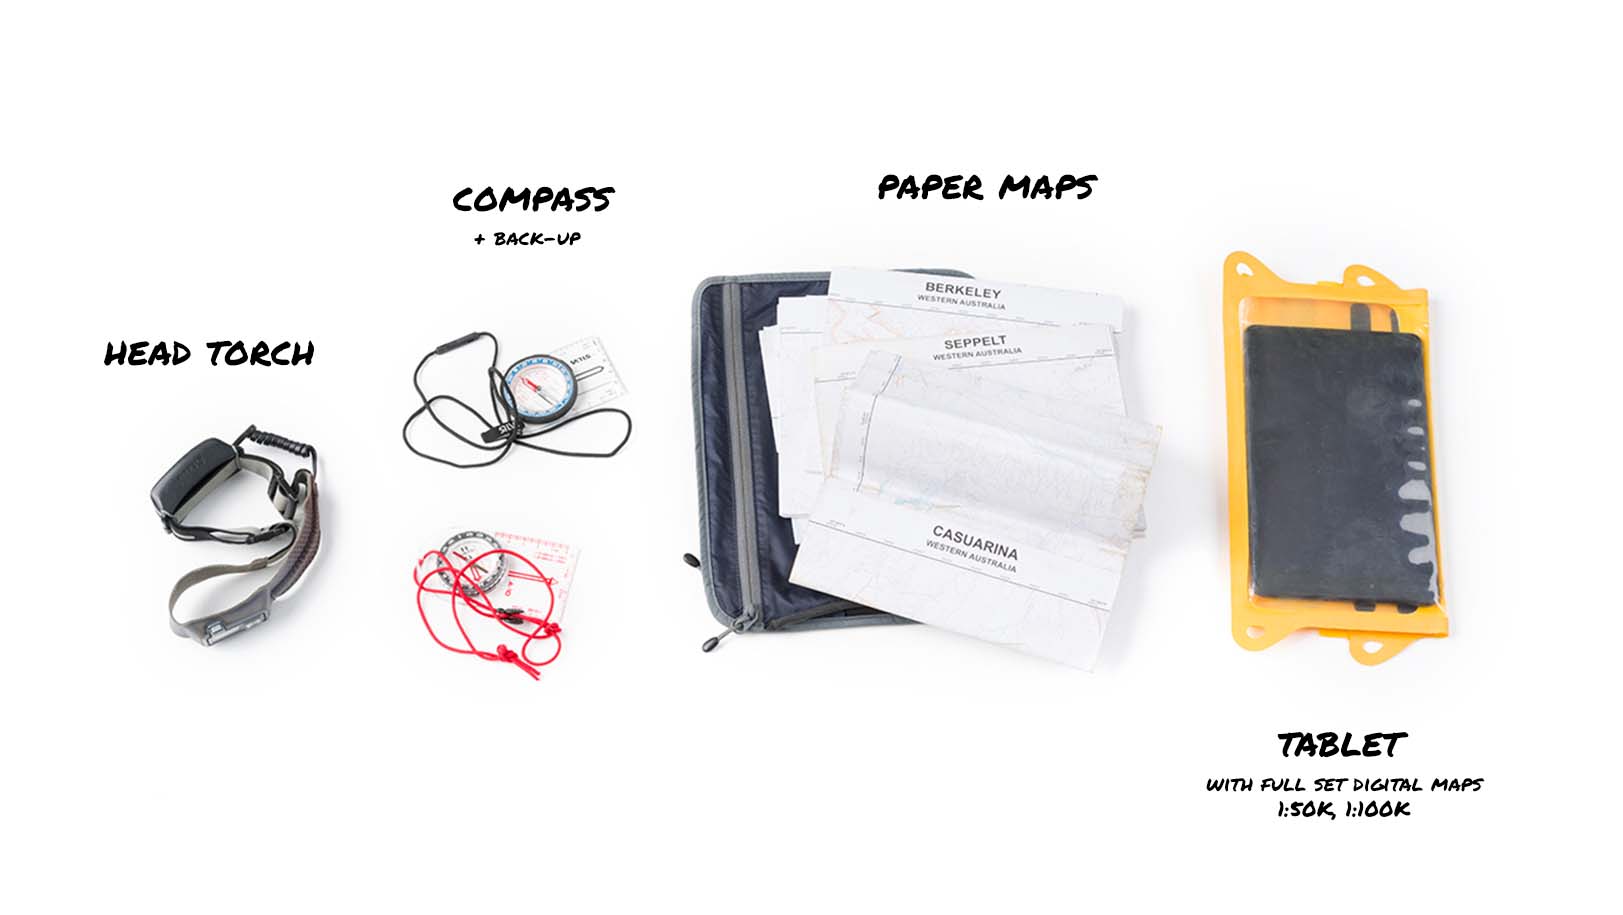
Navigating in this region of the Kimberley was pretty simple. For the first two days, I followed the sandy creek bed of the King George River. The terrain was flat and none of the tributaries were flowing so there were very few landmarks to aid navigation. On these days, I used digital maps on my GPS-enabled tablet so I could pinpoint my location in an otherwise featureless landscape.
GPS mapping didn’t sit right with my romantic notions of exploration so once I reached the Seppelt Range, I pulled out my set of paper maps. Geoscience Australia has an amazing catalogue of 1:50K and 1:100K maps that I had printed at my local chart and map shop.
While I managed to rely entirely on paper maps in the Seppelt Range and down Casuarina Creek, I couldn’t avoid the tablet altogether. I had taken almost 100 Google Earth screenshots of all the possible routes I might use to reach my destination. The only thing I cared for on those images were the black shapes that represented perennial waterholes.
Drinking water
Northern Australia has clear wet and dry seasons. I undertook this adventure late in the dry season when most of the rivers had dried to intermittent brown pools surrounded by sun-bathing freshwater crocodiles and cow poo. I was traversing country occasionally crossed by vehicles but rarely by foot. I could only guess at the conditions ahead. I carried satellite photos for finding waterholes, but many of them had been taken at a completely different time of year when water is more abundant.
The lack of humans and high-density agriculture in the Kimberley meant I should have been quite safe drinking directly from the natural water sources. However, being a solo traveller and witness of a number of wild cattle in the area, I was wary that water-borne disease was possible and could end my trip. So, as I crouched by little tea-coloured pools in sandy riverbeds I would ask myself: is it safe to drink? And how much should I carry with me?
I wanted a water filter that would quickly remove common bacteria without weighing me down. I chose a Katadyn BeFree 1L water bottle because it’s so light and compact. The filter really clogged up by the end and no amount of ‘swishing’ could resolve that, but it was getting heavy-use and user-error could have been a factor—I didn’t wash the EZ-Clean membrane until it had noticeably slowed.

When it comes to pack weight, we all have a threshold that we can sustainably carry. For me, anything above 20kg (44lbs) puts a physical and mental toll on my body that takes all the fun out of hiking. For that reason, I chose a route that allowed me to carry less than five litres of water.
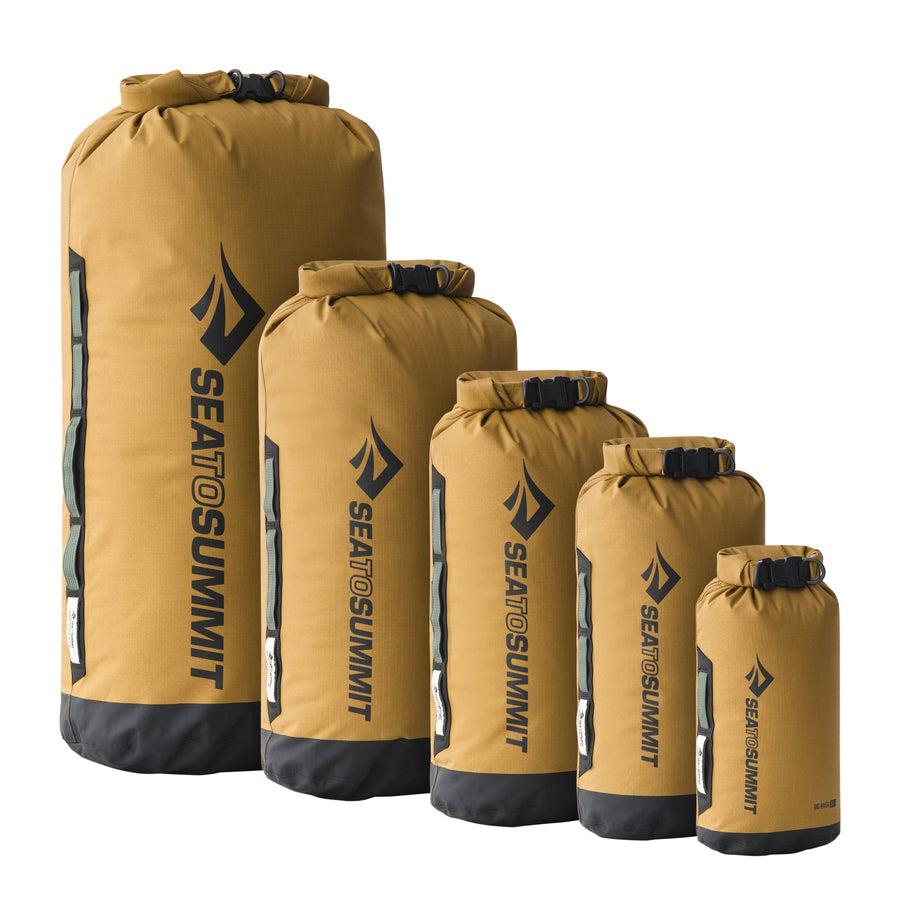
I use the Sea to Summit Watercell X because I appreciate the durable material and the wide mouth for filling up from pools. As a backup in case water availability was limited, I also took the ultralight internal bladder of a Sea to Summit Pack Tap 6L which more than doubled my total capacity to 13 litres. Thankfully, I never needed to carry that much but I valued having the option if I needed to.
Camp Cooking

To further reduce pack weight, I didn’t take a stove. I greatly regretted this decision.
For the best weight-calorie-flavour-ease combination, I carried four double-serves of freeze-dried food for each day. All I had to do was light a fire for each meal and boil water in a Sea to Summit Alpha Pot.
Unfortunately, an easterly wind would steadily build during the day and any attempt to light a fire would have blown embers into the surrounding scrub (aka tinderbox) and start a bush fire. I resorted to skipping lunch and instead munched on a muesli bar while dreaming of cheese-and-salami wraps and other meals that didn’t require cooking.
As a result, my calorie intake was too low and after a couple of days, it was taking its toll. I would start the day optimistic but by 2pm my energy levels were down, and my attitude started to plummet. I would get disheartened by unexpected detours and stressed about whether I would find water. It’s crucial to keep yourself fuelled so you have the physical and mental energy to explore and enjoy your hike.
I had also relegated a bowl to further reduce pack weight and I was eating directly out of my pot. This meant I had to finish my meal before boiling water for coffee. With long days needed to get to my destination, it all took too long and I didn’t even open my ground coffee.
Next time, I’ll bring a stove to quickly cook a calorie-dense meal and a bowl to eat from while my coffee water’s on the boil.
Sleep System

In the late dry season, the Kimberley skies are blue and the sun bakes down. Most days were over 37 °C (98F). and dropped to a comfortable, windless 15 °C (59F) at night so I only needed a light, minimalist sleep system.
I used the Sea to Summit Ether Light XT mat for the first time on this trip and really appreciated its extra-thick, cushioning air pockets. I could run the air pressure low and sink into it a lot.

Like many people, I worry about getting too cold at night and usually carry a heavier sleeping bag than is required. At the last minute of planning this trip, I decided to swap out my full sleeping bag for the ultralight Sea to Summit Ember Quilt. I didn’t regret it. The pack size was tiny and, as the temperature dipped to its lowest, I could easily throw it over me.
I used my usual Sea to Summit Down Pillow because it’s tiny, comfortable and can connect directly to my sleeping mat with the PillowLock feature.

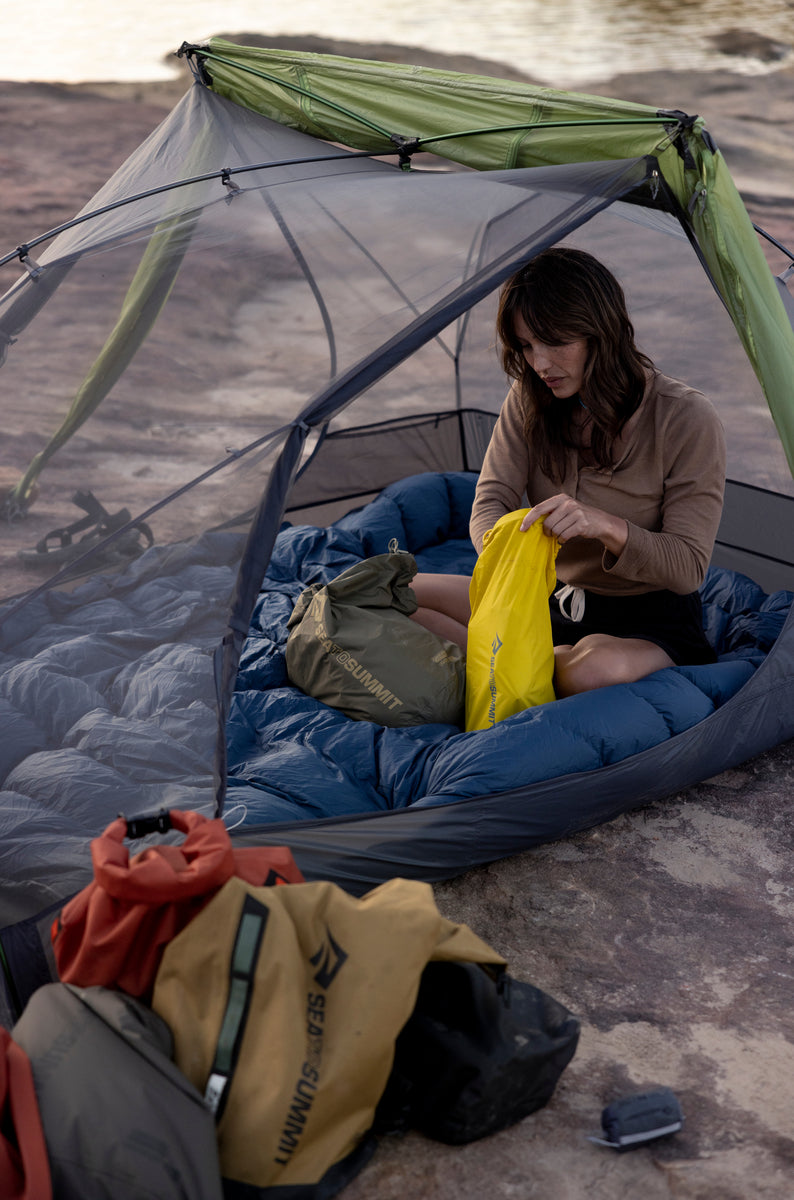
Given the time of year, there was no chance of rain and, in pursuit of the most minimalist set-up, I only took a Sea to Summit Nano Mosquito Net to protect me from insects. When hung, the pyramid net simply drapes over your mat and onto the ground—sufficient for keeping mosquitoes out but not much of a challenge for crawling creatures.
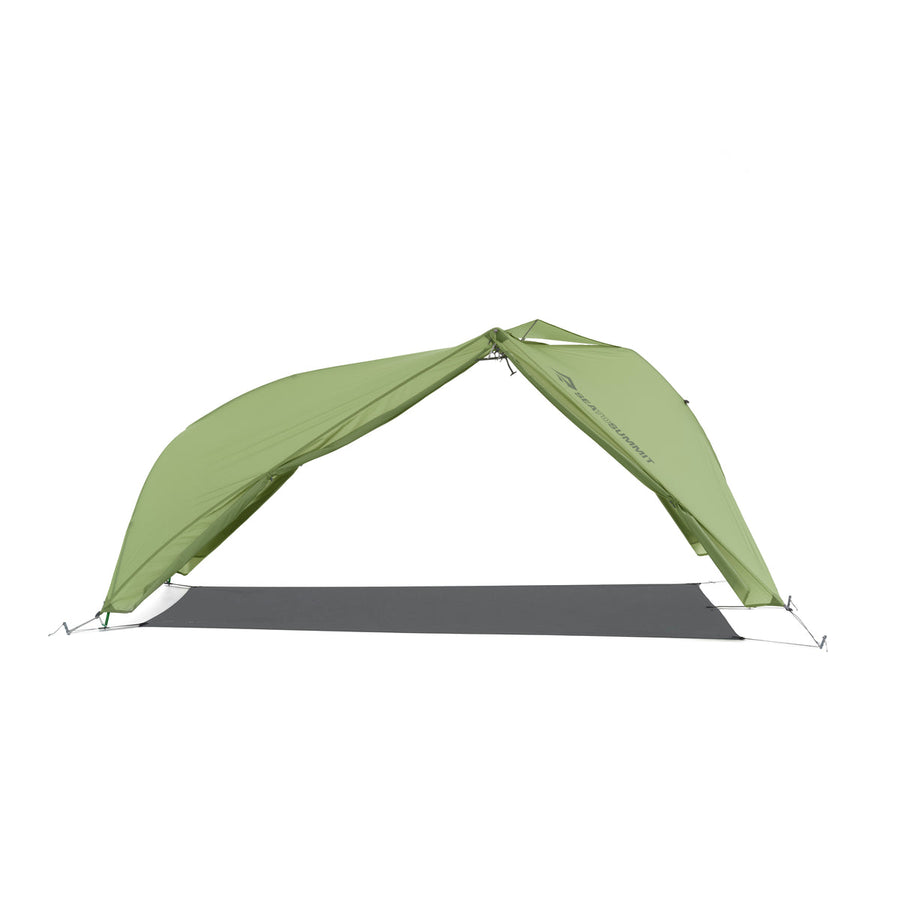
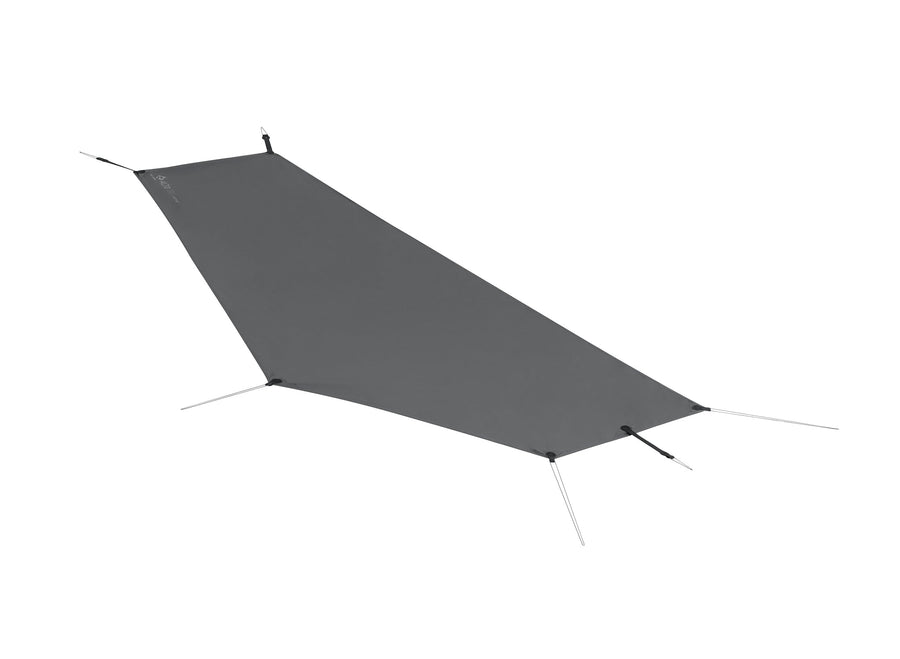
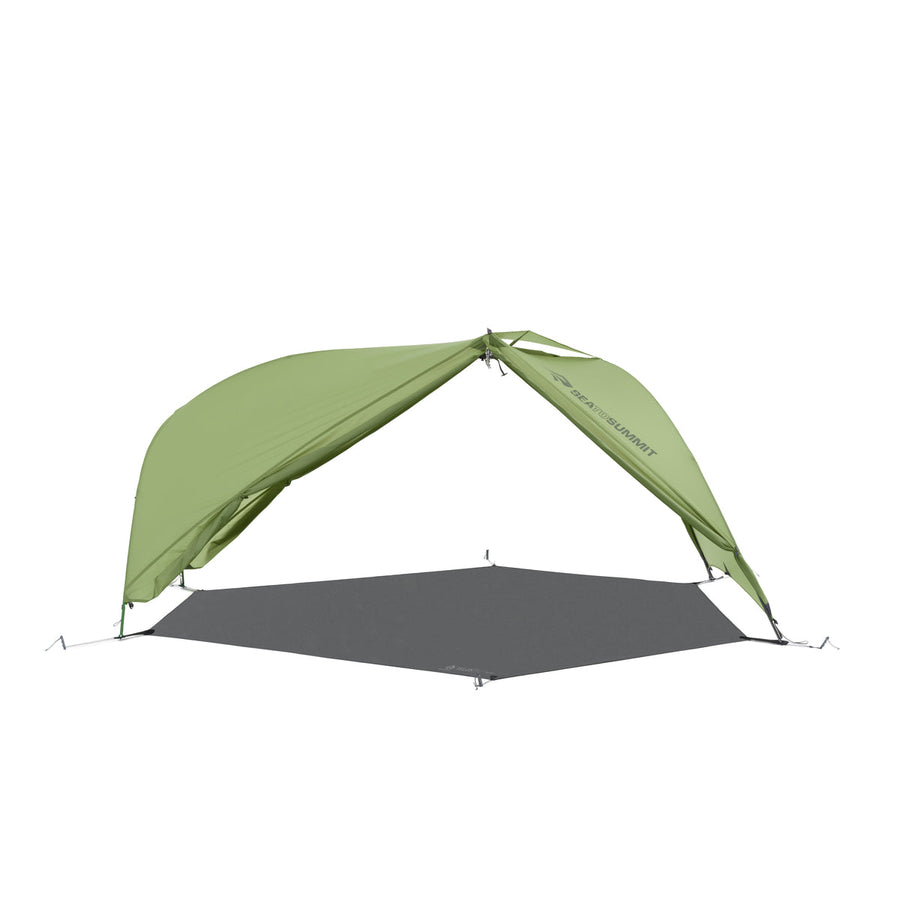
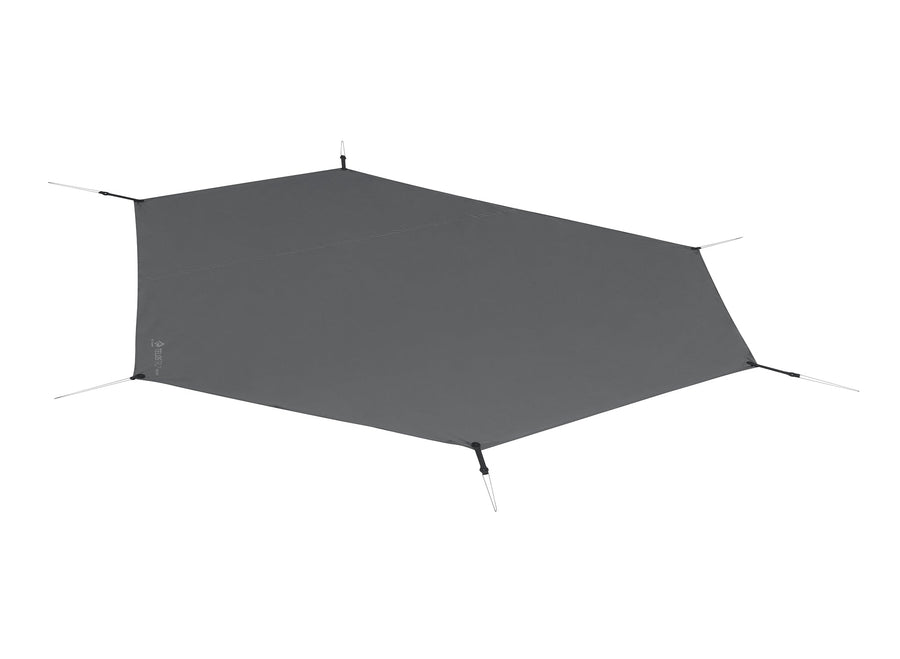
Next time, I’ll take a 1-person Alto TR1 tent inner (without the waterproof fly) for a spacious, semi-freestanding, no-bug-zone to relax in after a long day.
Power
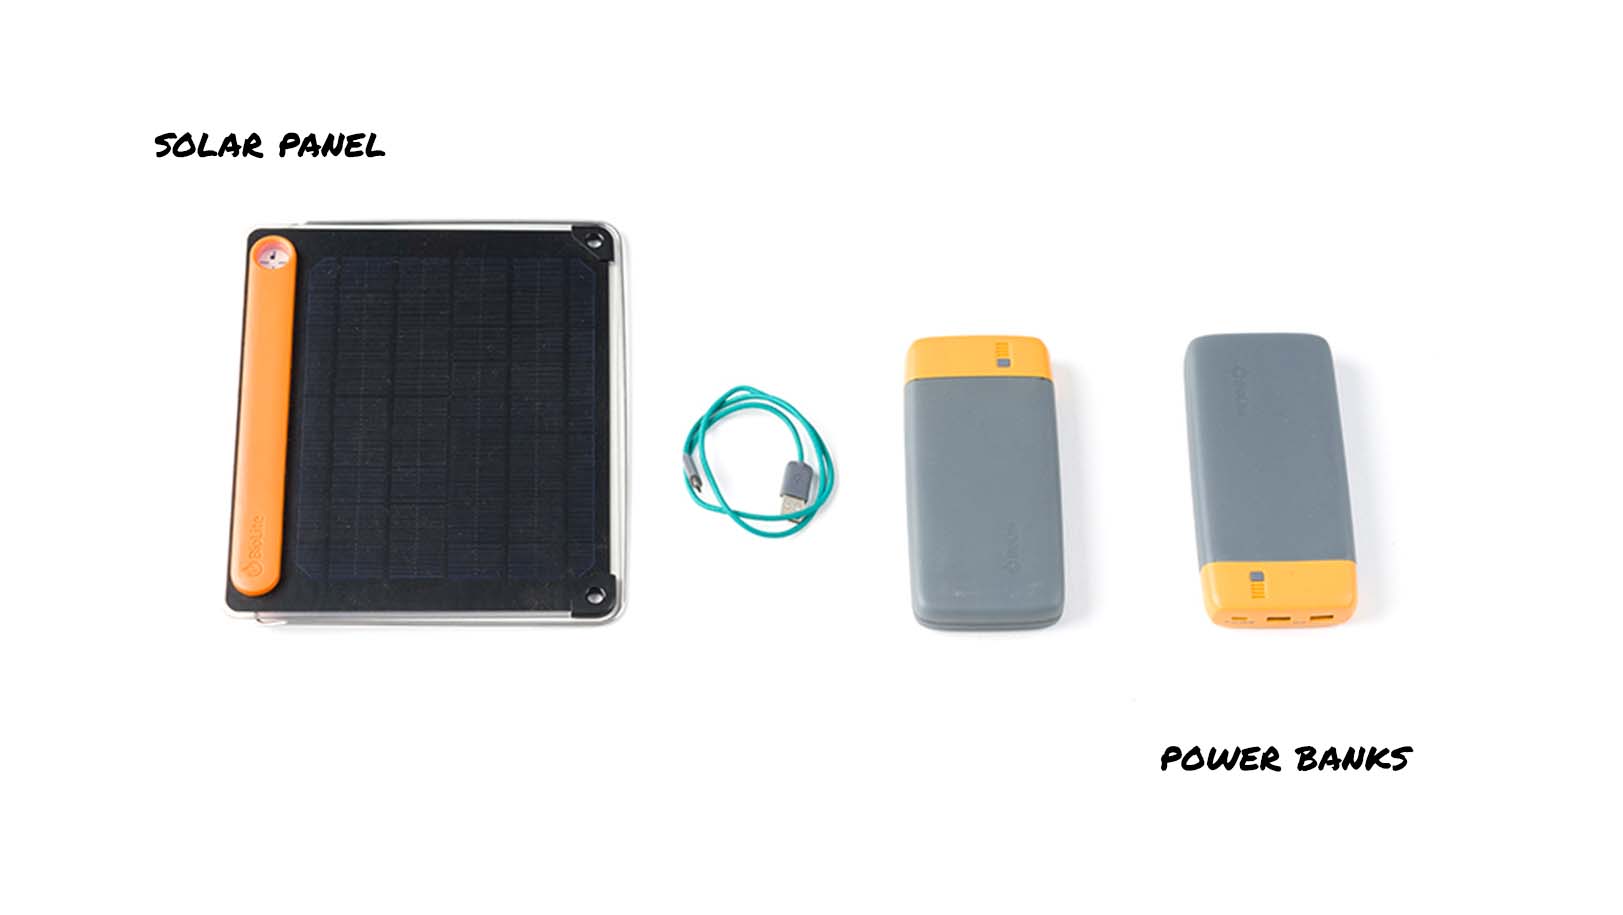
I tried to minimise the number of electronic devices I took but I still had a phone, tablet, satellite messenger, satellite phone and headtorch—all devices that needed recharging.
My BioLite 5W solar panel with a built-in 3,200 mAh battery collected power and recharged my devices through either USB-C or Micro-USB cables. I loved the feeling of lightweight, quick and free energy—and it definitely fits my expedition aesthetic.
I also carried two fully-charged 20,000 mAh BioLite battery banks to give me confidence in my power supply, even if the solar panel broke or I didn’t have the opportunity to set it up. My goal was to not use the second power bank in case I had an accident and had to use it to keep my satellite phone powered.
The power banks were extremely solid and heavy while the solar panel was light and easy. Next time I head out on a hike, I will only take one power bank for emergencies and take two solar panels. I’m dreaming up a simple and secure way to attach the solar panel to the top of my pack so I can passively collect power during the day.
Protective Wear
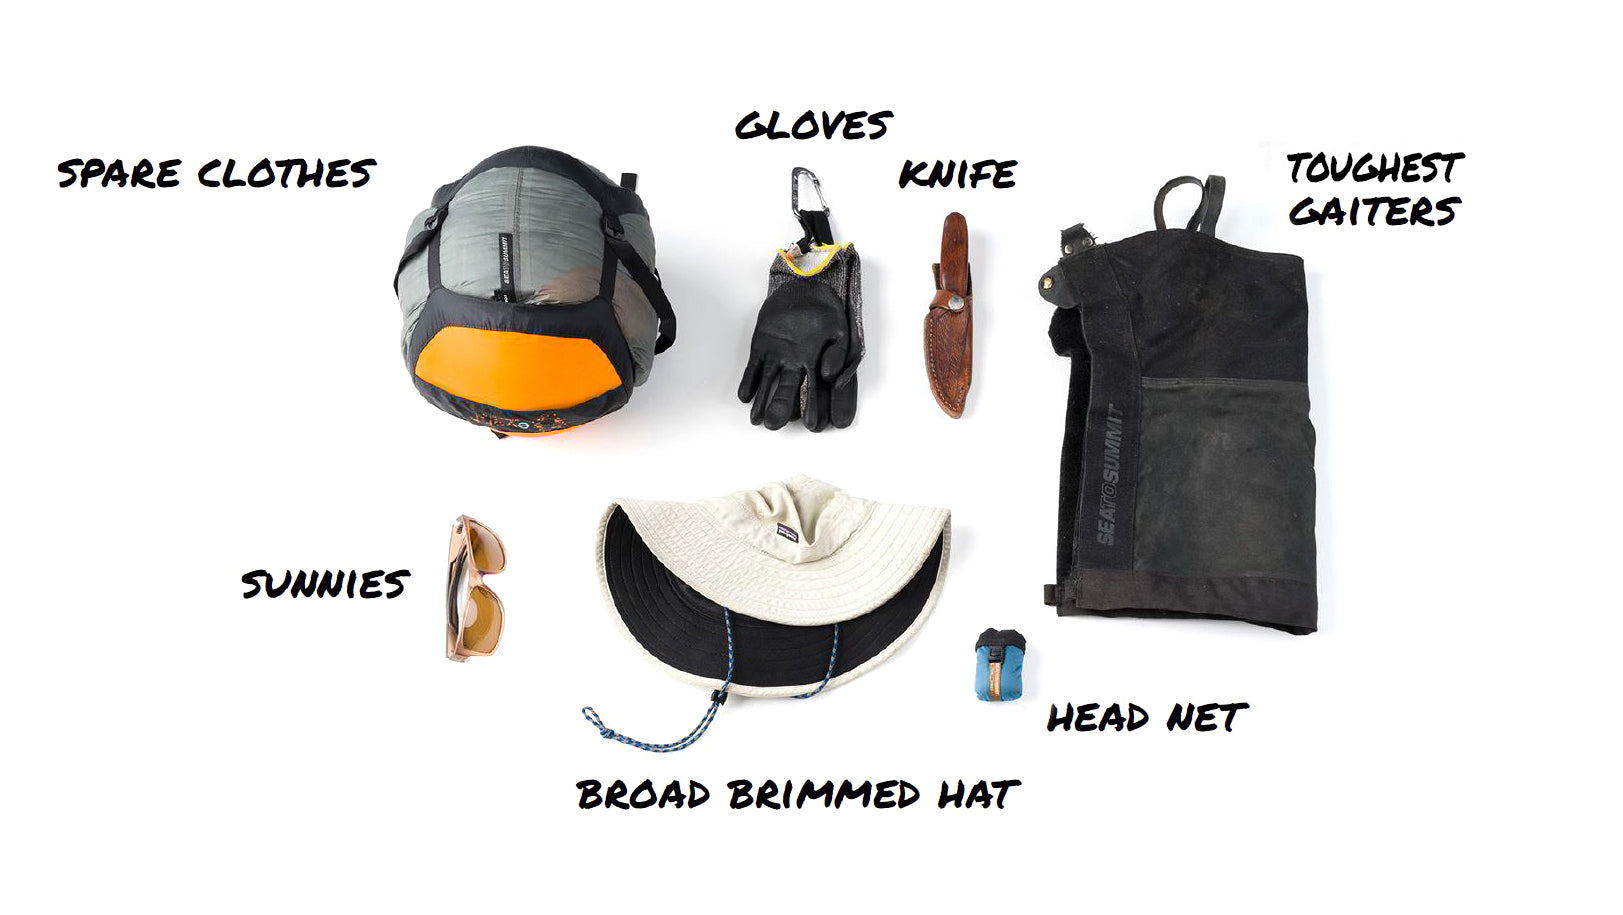
My trusty Canvas Quagmire Gaiters provide excellent protection and comfort, and always accompany me on hikes. Gaiters protect you from spinifex spines, sharp sticks and lacerating vines while also keeping sand and itchy grass seed


